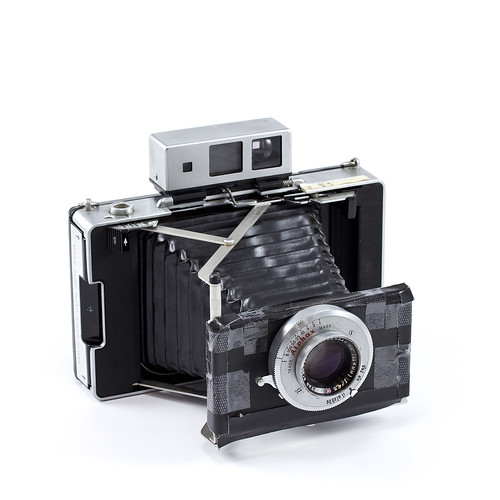
A few years ago I was given an old Polaroid 250 land camera. Unfortunately, it's electronics were kaput making it inoperative. So, I initially ripped out the shutter mechanism turning the 250 into something of a pin-hole camera. I shot with it like that for a little while until getting bored and shelving it.
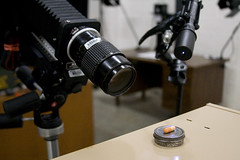
Some time later a friend of mine acquired an old Calumet 4x5 view camera kit with several large format lenses. I asked and received one of her "extra" lenses, a Wollensak Raptar 4 1/2" (114mm) f/4.5 that was similar enough to another lens to part with. I used that to resurrect my dead 250.
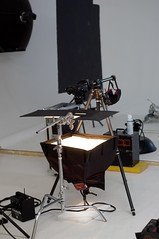
So, I'd like to say I did a lot of precise measurements, and fashioned and fitted everything properly, but I didn't. I basically just cut out a piece of sturdy matte board in the shape of the camera's front section, then cut out a hole for the lens in roughly the same place as the original lens, and taped it all together. Surprisingly it worked.
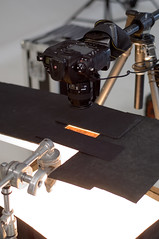
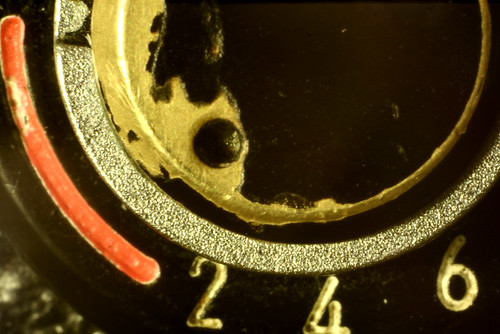
But the focus on the new lens didn't line-up with the 250's range finder. I tried trail-and-error first with little success. I then made a zone-focus system by test focusing on objects at varying distances and marking off the distances on the camera. I wasn't going to waste a bunch of peel-apart film for tests. So, I made a make-shift ground glass out of a piece of wax paper, opening the back of the camera, and placing it where the film would sit. Then focusing the same as I would with a view camera.
But my zone-focus system didn't really work well either. So finally, I carefully bent the little metal piece that coupled the 250's focusing mechanism to the range finder in the view finder, little by little until the range finder matched with the lens. Now it works great.
I now have probably the cheapest equivalent of a Polaroid Model 180 available.
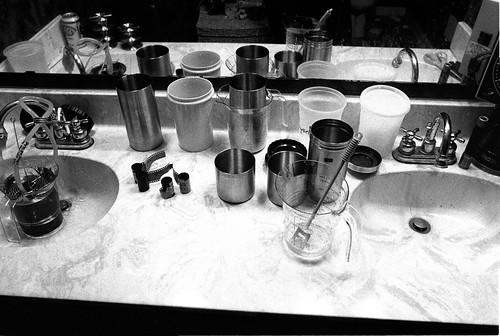
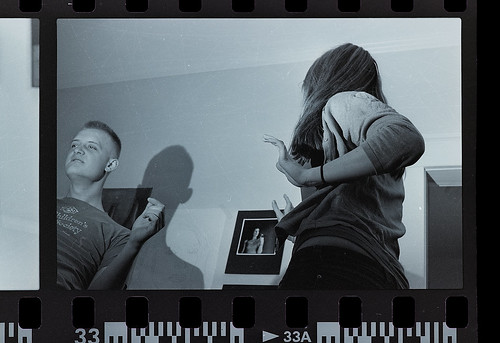
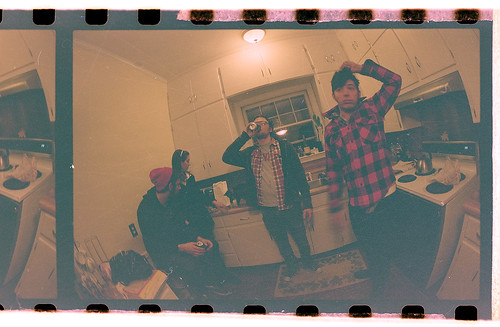
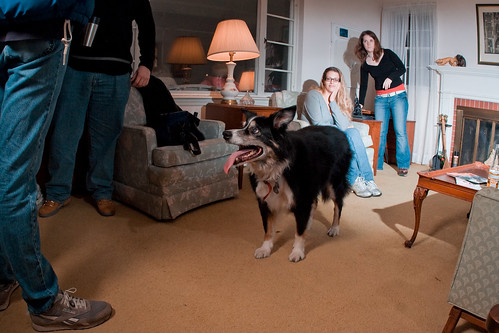
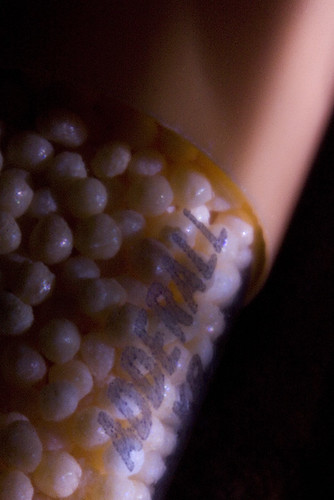
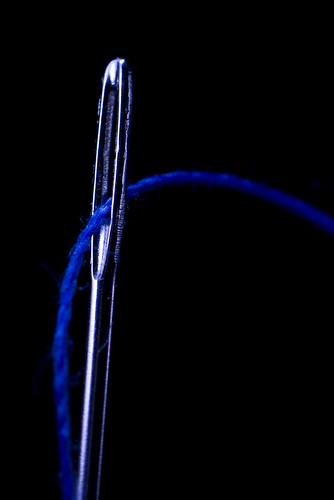
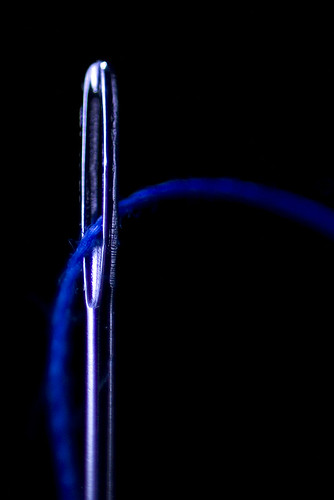
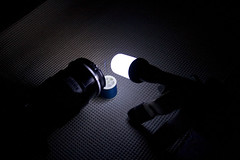
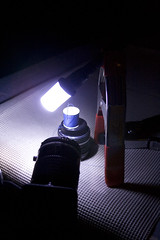
Examples of what my "modified" 250 can do:
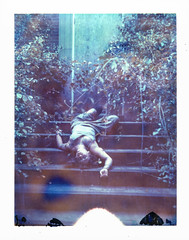


More photos and technical info after the jump.
↵